13 Dic Dr. Giuseppe Chiodera – Replacement of old Amalgams – myRing Classico and Diamond24
Replacement of old Amalgams with myRing Classico and Diamond24
by Dr. Giuseppe Chiodera

Dr. Giuseppe Chiodera
Il Dott. Chiodera si è laureato in Odontoiatria presso l’Università di Brescia. Nel 2004 ha vinto una borsa di studio alla Kings College University di Londra. Membro di Style Italiano, il Dott. Chiodera ha uno studio odontoiatrico privato in Italia dal 2006, dedicato principalmente all’odontoiatria conservativa e all’endodonzia. Il Dott. Chiodera è anche molto attivo come autore di articoli per riviste nazionali e internazionali, oltre che come docente in molte Università.
caso clinico
The patient came to our attention for a regular check. A first analysis revealed multiple carious lesion under a previous amalgam on both molars 26 and 27 and second bicuspid 25. We decided to proceed to the elimination of the old amalgams and carious lesion followed by a direct composite restoration of the cavities.
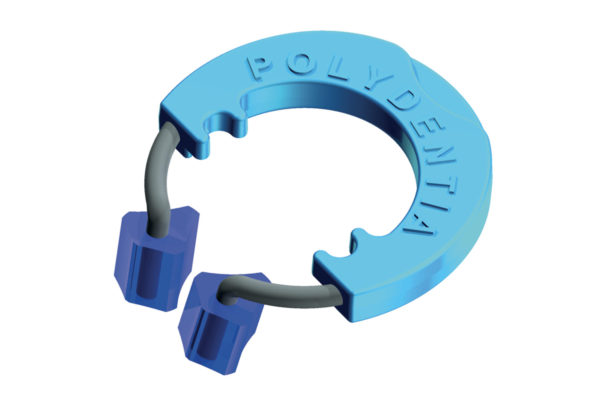
The following case shows the step-by-step restoration procedure using Polydentia myRing Classico separator ring equipped with the new Diamond24 silicone tubes.

1: Pre-operative view of 26 and 27 molars and 25 bicuspid showing the old amalgam restorations which need replacement.

2: The quadrant under isolation before removing the old restorations.

3: Wedging and cavity preparation: a standard wooden wedge was used to separate bicuspid 25 and molar 26, while a Macro Wedge by Polydentia was used to separate the molars. Macro Wedge wedges are very effective in case of wide cervical spaces, where the size of standard wedges is not enough to ensure a correct teeth separation. The old amalgams have been then removed.

4: Bicuspid and second molar were restored first. As a first step, a LumiContrast matrix (Polydentia) was placed prior to etching procedure. A steel matrix strip was also used to protect the first bicuspid. Cavities on both #25 and #27 were filled with composite, cured and then finished.

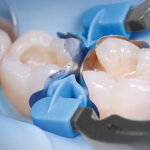
5: The clinical situation after restoration of premolar 25 and molar 27. After that we focused on the MOD restoration of molar 26. As first the cavity was cleaned using air abrasion and disinfected. The wooden wedge was broken in order to better accommodate myRing Classico with Diamond24 (Polydentia). This trick is very helpful in case of small teeth.

6: Two LumiContrast matrices were placed on first molar. The Macro Wedge was shaped for better positioning and avoid the matrix to collapse on the cervical area.

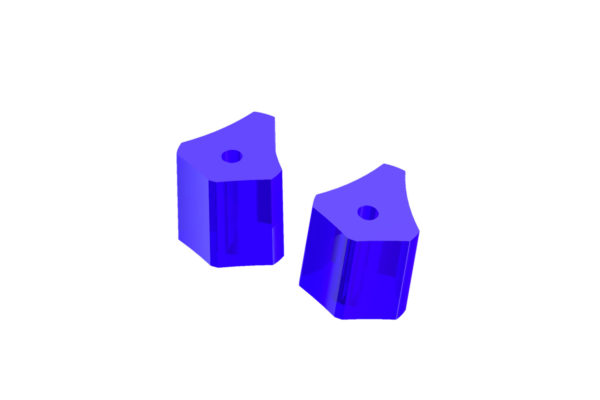
7: The different 24 combinations offered by Diamond24 and myRing Classico on a single image; the new silicon tines can be oriented and combined ensuring an optimal adaption of the matrix to the tooth surfaces.

8: The cavity equipped with myRing Classico and Diamond24 on distal. By orienting and combining the silicon tines, the ring can be “semi customized” ensuring an optimal adaption of the matrix to the tooth surfaces.

9: After restoration of the distal interproximal wall, myRing Classico was moved to the mesial wall. In this case two Diamond24 were used; different edges length has been especially developed to ensure the best adaption to the matrix even in case of teeth with different dimensions. This feature ensures a faithful contact point restoration.

10: #26 after restoration of the distal interproximal wall; myRing Classico was removed and LumiContrast sectional matrices detached. The picture highlights the optimal adaption of the Diamond24 to the proximal walls, which ensure a perfect contact point restoration with just minor finishing required.

11:The restoration after filling of the occlusal cavity and composite modeling.

12: Immediate post-operatory result
conclusione
An accurate reproduction of the contact point and proximal walls is a must in class II restorations. Many different sectional matrix rings have been developed to help dentists to achieve perfect restorations. Combining myRing Classico with the new Diamond24 offers additional flexibility in adapting the sectional matrix system to the clinical situation. Particularly, the 24 possible combinations of size and shape of Diamond24 allow to “semi customize” the ring and adapt the matrix in a very efficient way without damaging and collapsing it on the cavity, even in case of difficult tooth morphologies.
altri casi clinici
-
Cavità adiacenti di classe II su 1° e 2° molare – QuickmatFIT matrici sezionali anatomiche e myRing Forte – Dr David Gerdolle
Una paziente di sesso femminile di 28 anni, senza patologie generali, ha presentato una lesione cariosa che interessava entrambi i molari 46D e 47M. Il caso seguente mostra il restauro diretto in composito della lesione utilizzando le matrici sezionali anatomiche Polydentia QuickmatFIT in combinazione con myRing Forte e i cunei in plastica a forma di V myWedge....
-

Class II restoration of a primary molar – myClip Junior – Dr. Marina Papachroni
The following images shows the step-by-step restoration procedure using Polydentia myJunior kit....
-
Diamond24, 24 soluzioni per i vostri restauri di cavità di II classe
Diamond24 e myRing Classico: 24 soluzioni per i vostri restauri di classe II. Leggete l'articolo scritto dal Dr Chiodera (in inglese), che spiega come ottenere ottimi punti di contatto con Diamond24 e myRing Classico per i restauri di cavità di Classe II. ...
-

Dr. Chiodera – Ricostruzione di classe II sul secondo premolare – myQuickmat Forte kit
Il kit Polydentia myQuickmat Forte è un sistema molto efficace per le ricostruzioni posteriori di classe II....
-
Dr. Chiodera – Ricostruzione MOD sul primo molare – myQuickmat Classico kit
Il kit Polydentia myQuickmat Classico è un sistema molto efficace per le ricostruzioni posteriori di classe II....
-

Dr. Gerdolle – Classe II mesiale, distale e MOD – MyClip 2.0 + LumiContrast
Il caso mostra la ricostruzione diretta con composito delle lesioni usando il sistema di matrici sezionali Polydentia myClip 2.0, LumiContrast e cunei in legno....
-
Dr. Gerdolle – Classe II MO sul primo molare – myClip 2.0
Il caso mostra la ricostruzione diretta con composito della lesione usando il sistema sezionale Polydentia myClip 2.0, le matrici sezionali LumiContrast e cunei in legno....
-
Dr. Giuseppe Chiodera – Replacement of old Amalgams – myRing Classico and Diamond24
The following case shows the step-by-step restoration procedure using Polydentia myRing Classico separator ring equipped with the new Diamond24 silicone tubes. ...
-

Dr. Grosz – Custom rings reloaded, updates and indications – myCustom Rings Kit
Since its introduction by Jordi Manauta in 2013, the custom rings technique enjoys unparalelled popularity among restorative dentists. We see many cases in social media and publications with custom rings used, what demostrates the effectiveness and simplicity of this technique....
-

Dr. Hagner – Application in Periodontics – F-Splint-Aid Slim
Questo caso mostra la procedura di splintaggio dentale con il sistema F-Splint-Aid Slim, utilizzando la tecnica adesiva diretta....